Before you install the device itself, please refer to the installation guidelines for activating and setting up the Mobile App (Legacy or IoT version) and the WiFi connection for your device.
Device installation
Once you have successfully connected and established a WiFi connection at your geyser, you can now install the device:
- The device wiring should be installed between the geyser isolator and the geyser element itself, with the Amp rating as required for the geyser. (Typically > 20 – 30 A)
- It should be installed by a qualified electrician to ensure everything is still compliant grounded.
- Please ensure that your geyser element does not consume more than 20A or 4000W.
- All 3 wires (L, N, E) for both input and output must be connected, as indicated on the side of the device.
- Mounting holes are provided and the device box should ideally be installed on a beam or rafter as close to the manhole as possible, for ease of potential servicing or testing if something should go wrong.
- Try and stay away from the copper piping around the geyser, as it affects the WiFi signal to the device.
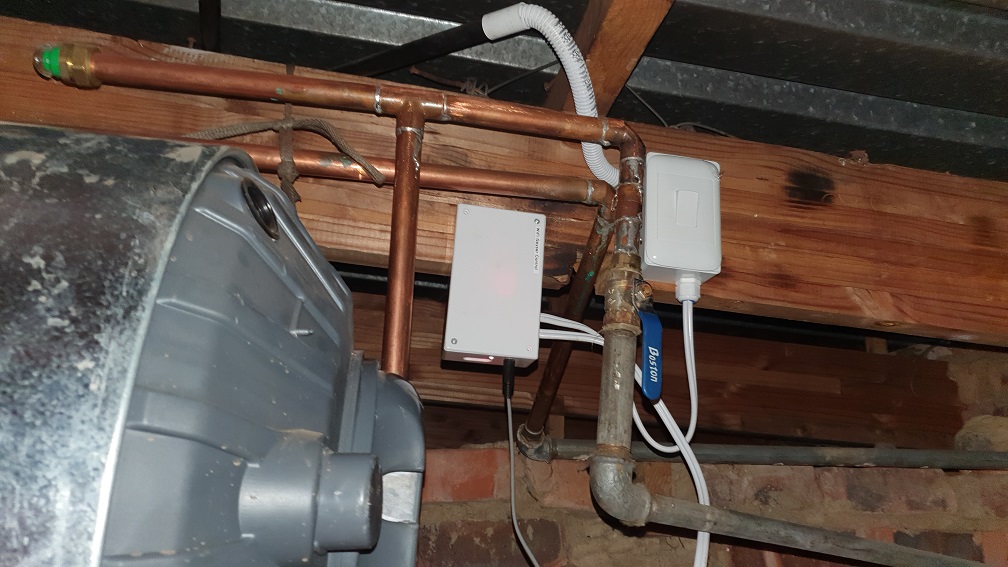
- Keep the Temperature sensor wire away from the power lines as far as possible.
- Do NOT feed them through the same grommet or hole in the protective cover.
- This can induce spikes and damage the device when the power comes on after a power outage (such as load shedding) in your area.
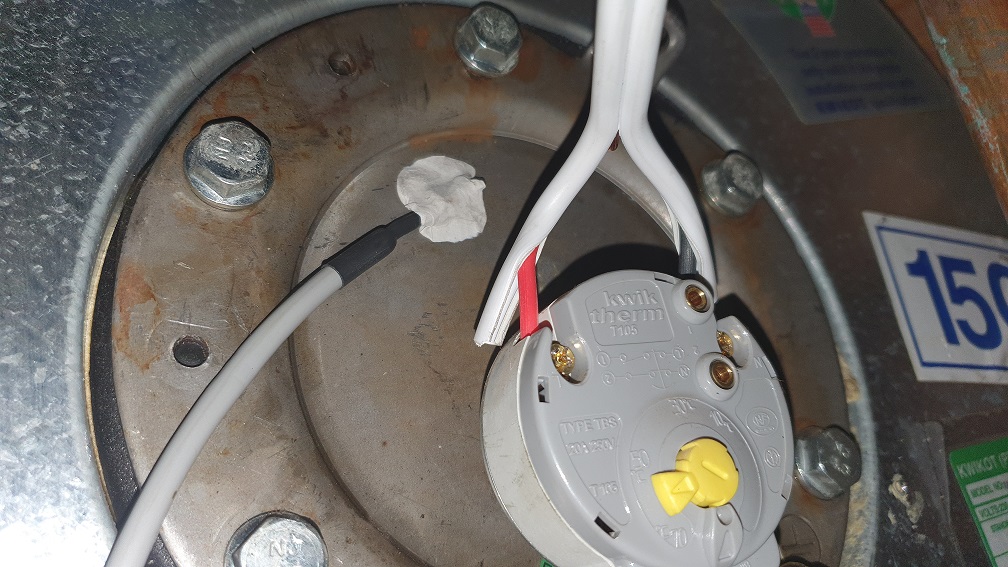
- Different geysers may provide different challenges regarding the placement of the temperature sensor, but the general guiding principle is to try and get it as close as possible to the heat of the water inside the geyser by affixing it to any metal part where the inside temperature is conducted to the outside.
- Silicon gel or even ‘Prestik’ can be used for for affixing the flattened part on the sensor to this metal part.
- An example of one of the most popular geysers is shown below, where the sensor can be affixed to the side plate of the geyser, where the thermostat and element are located, about 100 mm above the element.
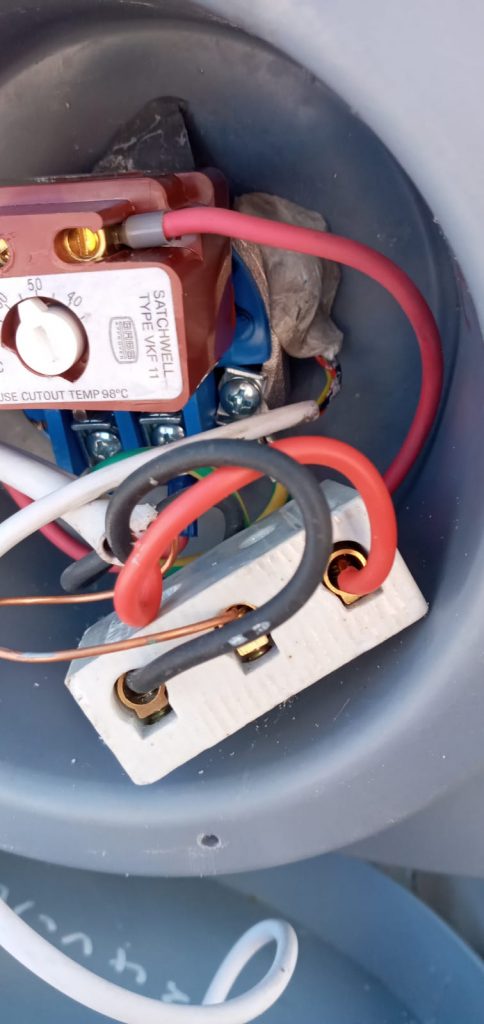
- Another example of a popular geyser is shown below, where the sensor can be affixed to a small metal bolt head at the side of the thermostat. This installation is not very accurate, but can be adjusted with the App calibration, if required.
- Yet another type of geyser (shown below) has a small hole above the element, with a round channel protruding into the geyser. The sensor fits nicely into this hole/channel and can be pushed into this channel as far as possible to measure the temperature inside the geyser.
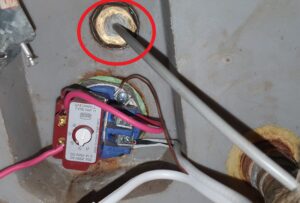
- It is not required to take out the thermostat to install the sensor, as the thermostat should be left in place for a safety override.
- Once installed and the mains power is switched on, the device should go through its normal start-up sequence, with the external RGB LED indicating Red, until it connects to the WiFi and then blinking Green (and occasionally Blue) every 20 seconds as it runs through its regular cycles and communicate through the Blynk server to the mobile App.
- An option is available to replace the built-in RGB LED on the top of the device with the same LED on an extended cable for easy installation through a small hole drilled in the ceiling, providing continuous visible diagnostics information.
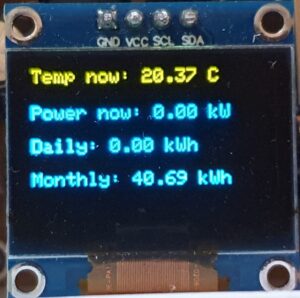
- On the Advanced units an option is also available to install a small LCD display, indicating the most important information. This can be installed into the lid of the box, or on its own underneath the ceiling with extended wires to the box installation.
Running the Mobile App
- Depending on which Blynk mobile App you are using, you can now just Run the App to see if everything works.
- Later when you are more familiar with the 3rd party Blynk App functionality, you can customize the Enereff Geyser controller components to suit your own style.
- Now In-Joy your control and visibility over your water heating energy spending….
- Go HERE to learn more about the 3rd party Blynk App.
- Go HERE to learn more about the Enereff WiFI Geyser Controller functionality and usage.